
Generating Calibration Presets with SpyderCheckr and Cube


There are certain scenarios where you want to be able to start your edits from a common color baseline, even from widely different scenes. We go into how we can use the SpyderCUBE take references photos to adjust during a shoot and SpyderCHECKR to generate a color baseline preset to get us going during post.
I was able to easily screw the Checkr on my GorillaPod tripod and then attach it to a railing to easily take calibration photos when the lighting changed throughout the morning.
SpyderCHECKR Software
First you must download the calibration software for the Checkr. You can download the software on the official Spyder Software Downloads website.

In Adobe Lightroom, you can right click and then go down to Edit In > SpyderCheckr Editing.
Alternatively, you can open the Checkr software and drag the image in as well.
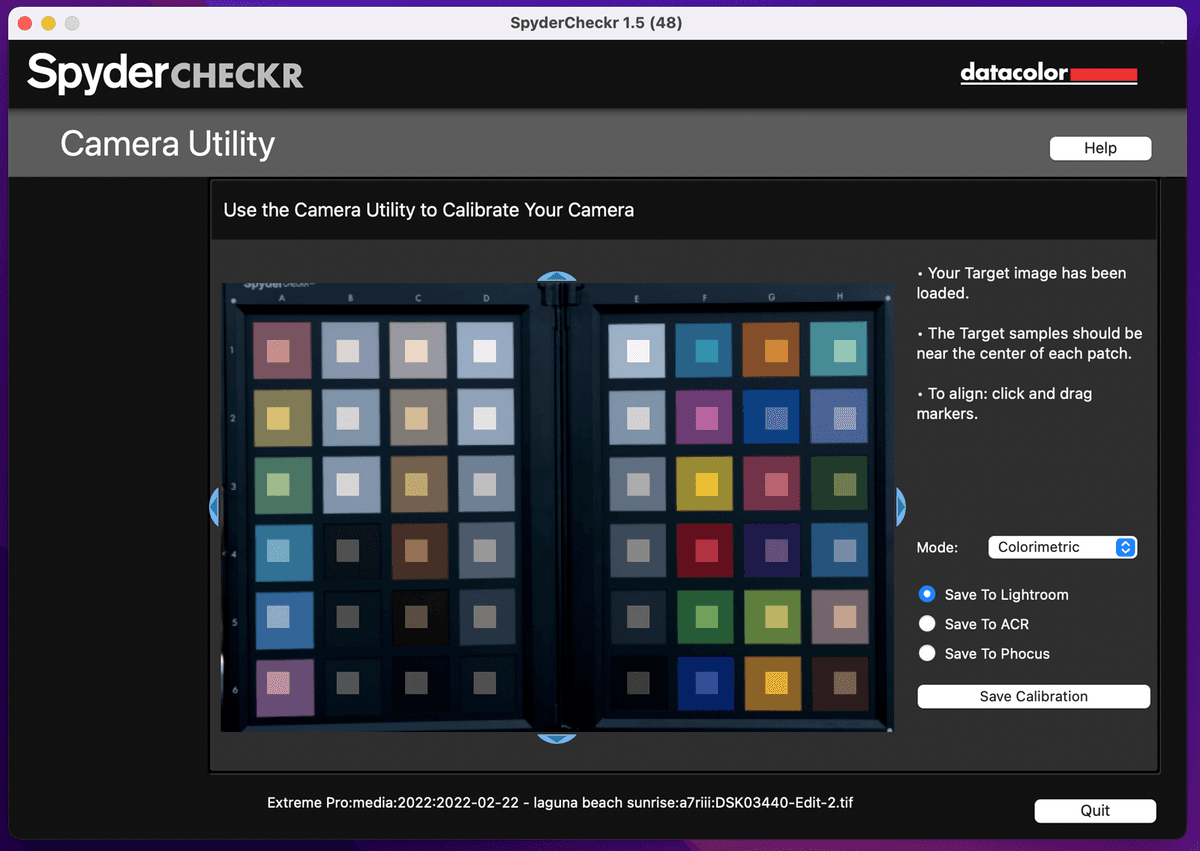
In the calibration software, you will need to adjust it so the small boxes land inside the Checkr boxes.
After saving the new calibration preset, you will need to restart Lightroom so it will import the new preset.
Afterwards, you can then apply it as any preset to start as a calibrated baseline.
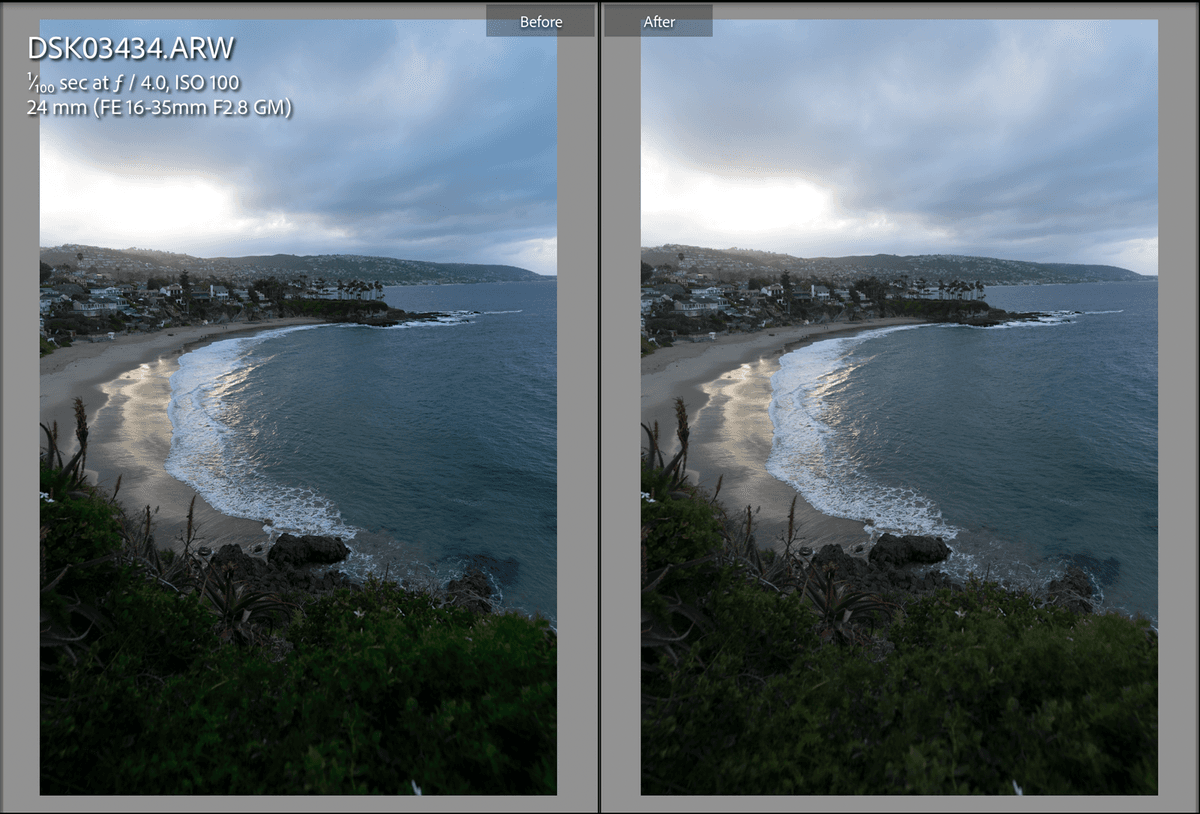
This is an extremely useful tool when you need a consistent baseline for colors. For example, if I needed a baseline to start my edits across multiple photos from different scenes. Remember, the preset you generate with the Checkr photo will only work in the same or close to the same lighting/exposure, so for each unique scene, you would need to take a photo of the Checkr and use the software to generate a calibration preset.
While I don’t see myself using this as much when shooting travel landscape due to packing light and not needing the percise level of color baselining, the Spyder Checkr definitely serves as a great tool for a unique purpose within photography.
Video Walkthrough in Adobe Lightroom
SpyderCUBE
The SpyderCube attached seamlessly to the top of the SpyderCheckr where there was a retractable screw mount. The calibration workflow for the cube was simply taking a reference photo and evaluating it right in the camera to make adjustments. Since the cube featured a white face, black face, black trap, and neutral grey faces, it offered multiple points to compare and adjust your exposure.
The form factor of the cube was tiny, and allowed me to fit it inside my pocket and definitely can see it coming in handy in tricky lighting situations.
Resources
Updates:
- March 1, 2022 - Published
Subscribe to Derek Liang
Get the latest posts delivered right to your inbox