
Calibrating Displays to Perfect Colors with Spyder Elite


As a freelance photographer and content creator, it is important to calibrate your displays so you are working with accurate colors throughout your workflow, establishing a trusted color baseline to make sure you, your viewers and clients will see the same colors. The Spyder X Elite helps us accomplish this very crucial calibration step.
Spyder X Elite
The Spyder X Elite is a monitor calibration tool that will create a new color profile for your monitor. My workstation at home consist of a MacBook Pro and an external monitor (LG 27UK650-W 27” monitor) which is the display I do most of my photography edits on and is the monitor I am calibrating with the Spyder X Elite.
Calibration Process

First you must download the software on the official Spyder Software Downloads website and register your device with the serial in the box.
The software you install will take you through the whole process, with options for guided, expert/unguided, and studio match steps. For first time users, I recommend choosing the guided steps.
Guided Setup
In the beginning of the calibration process, the software prompted me to reset my monitor settings and set to 6500K.
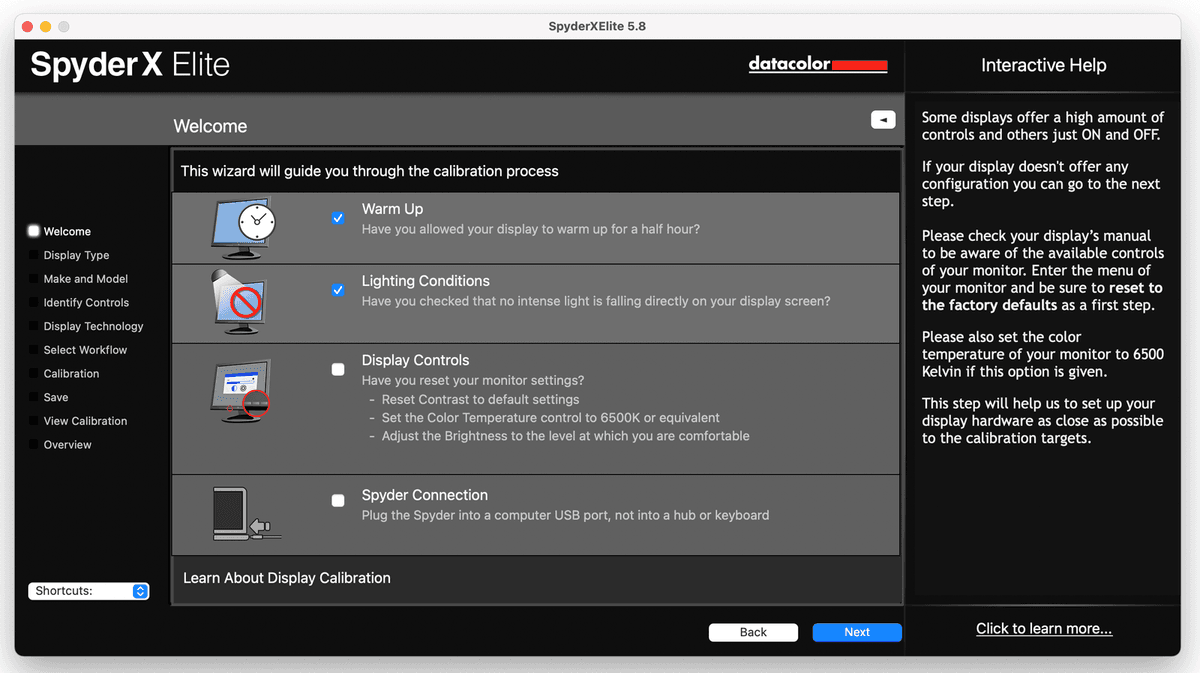
My monitor didn’t have that and I read online that the preset color temperature “medium” on my monitor was the closest setting to 6500K.
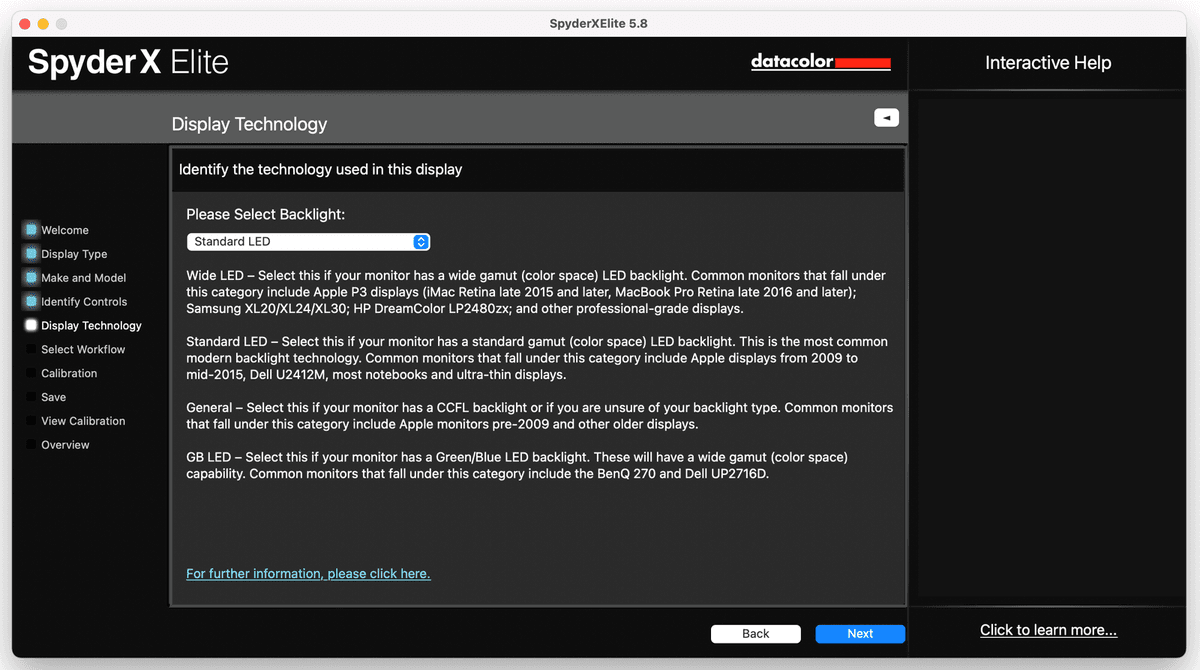
The LG 27UK650-W has a standard LED, so this was what I chose.
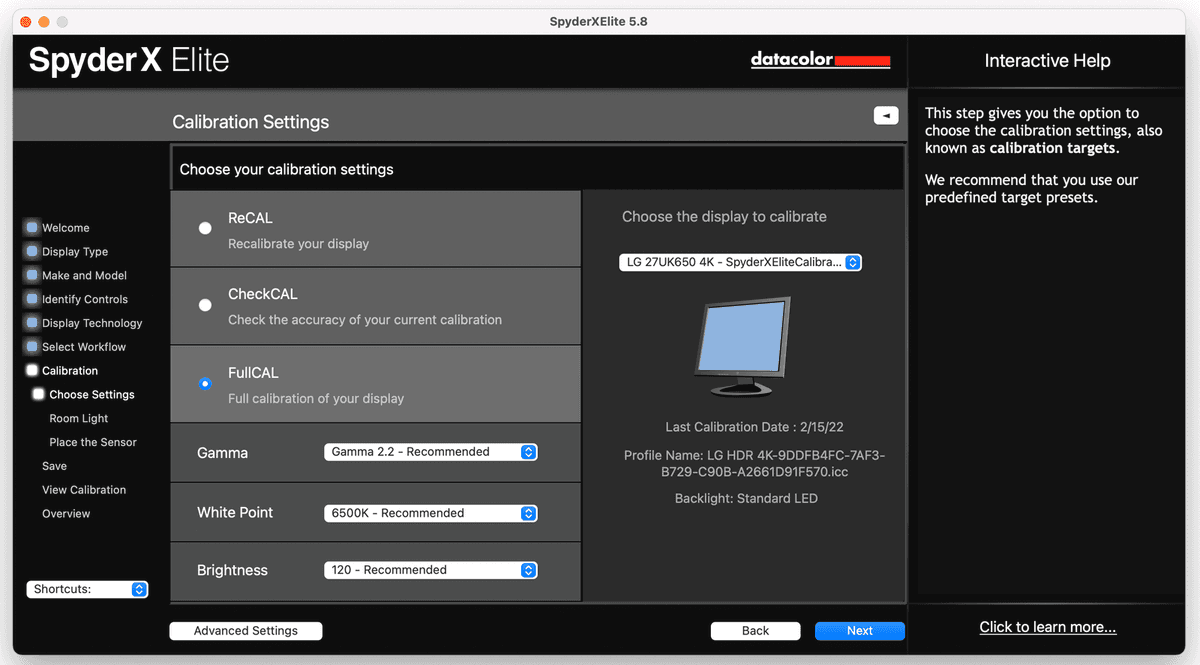
It prompted for what calibration settings I wanted, and I wanted a full calibration since it was my first time and went with the recommended settings.
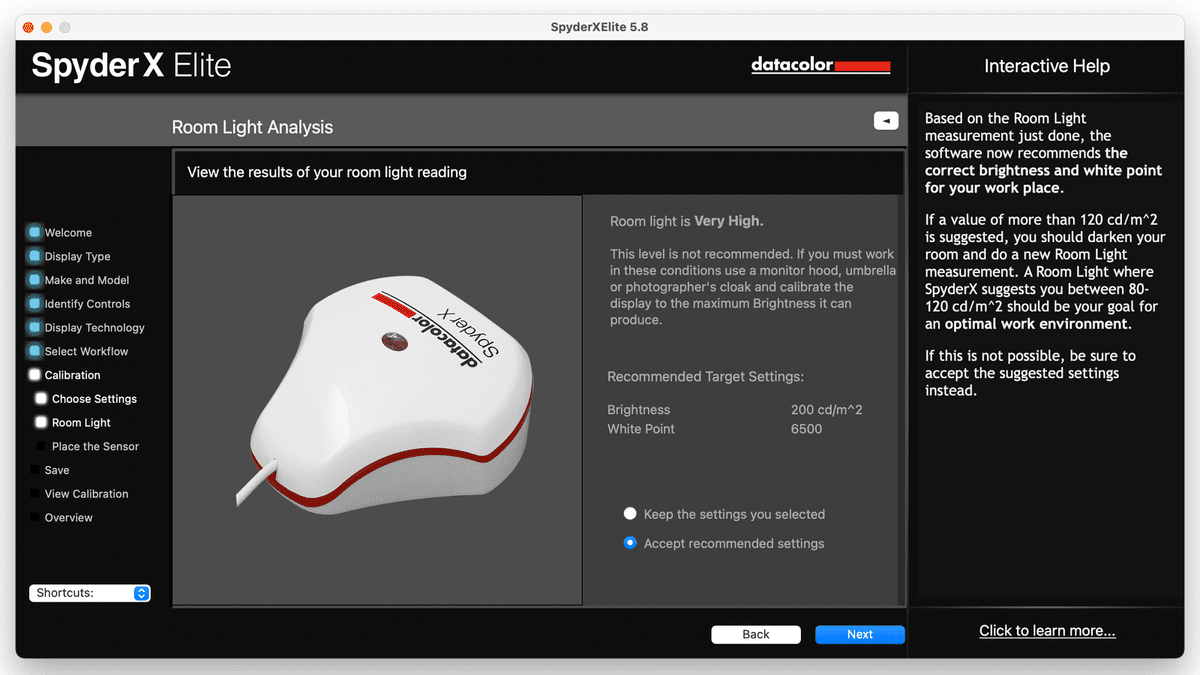
The software prompted me to place the Spyder on my desk to measure the ambient light in my room.
It told me my room was very high and recommended the target settings which I went with.
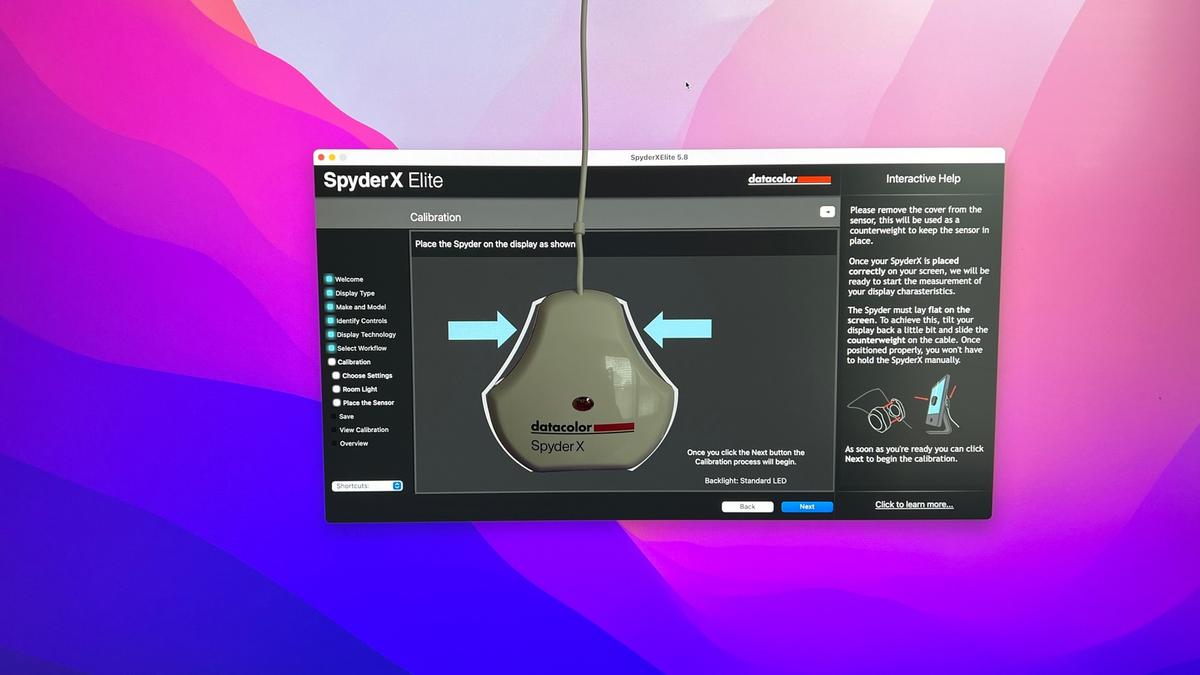
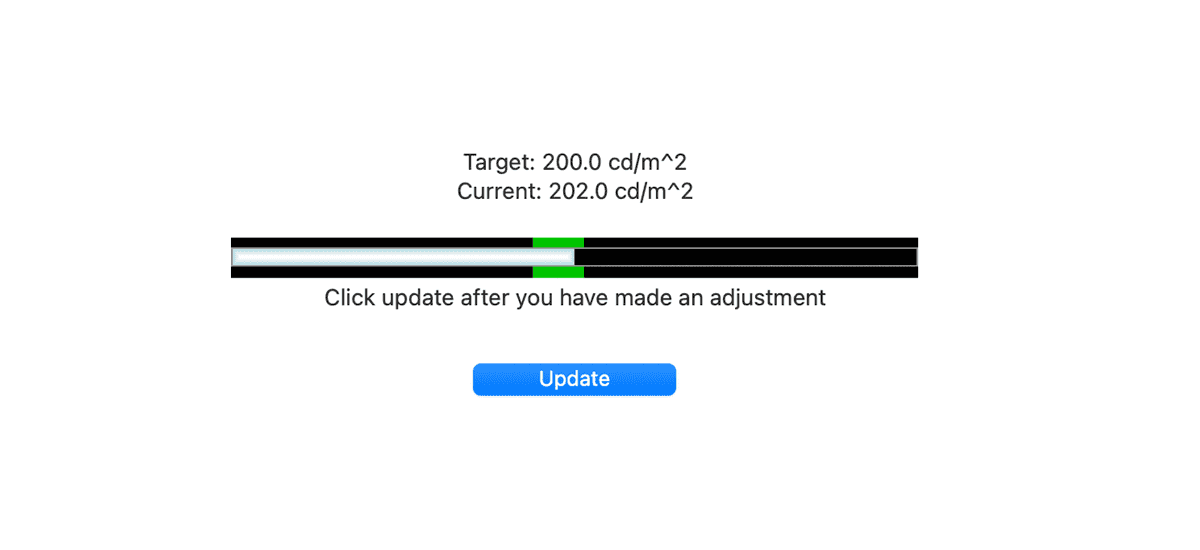
Afterwards, I placed the Syder on my monitor to first measure the brightness of my monitor. It told me it was too bright at first and then had me adjust it until it was closer to 200 cd.m^2 which was what they recommended in the step before.
The software then started to calibrate the colors. It then went through a series of different colors and took a few minutes before the calibration was completed.

After the calibration was done, the software prompted me to save the newly calibrated color profile for the monitor.
Overall, the software guided the whole calibration process quite smoothly, and I was quite satisfied with the results.
Expert/Unguided Setup
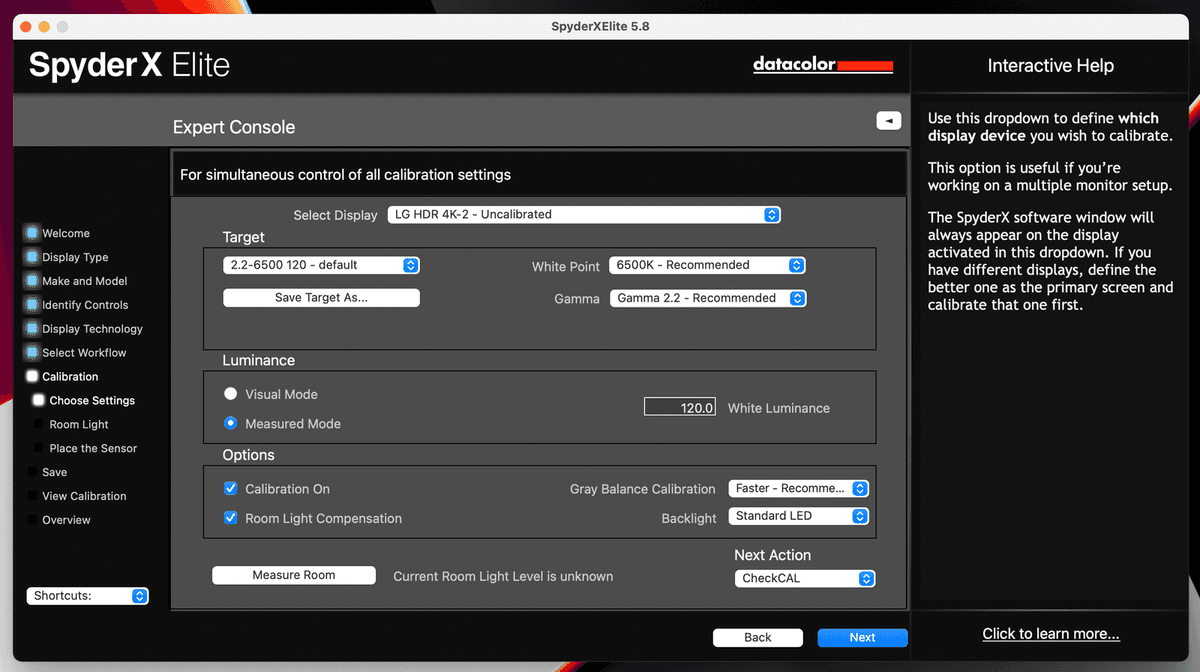
For users familiar with the calibration process, they can choose to use the expert console which is a single panel that shows calibration adjustments/settings without clicking through the guided workflow after you know your target settings. I really enjoyed how Datacolor offered different workflows for all user levels.
Studio Match
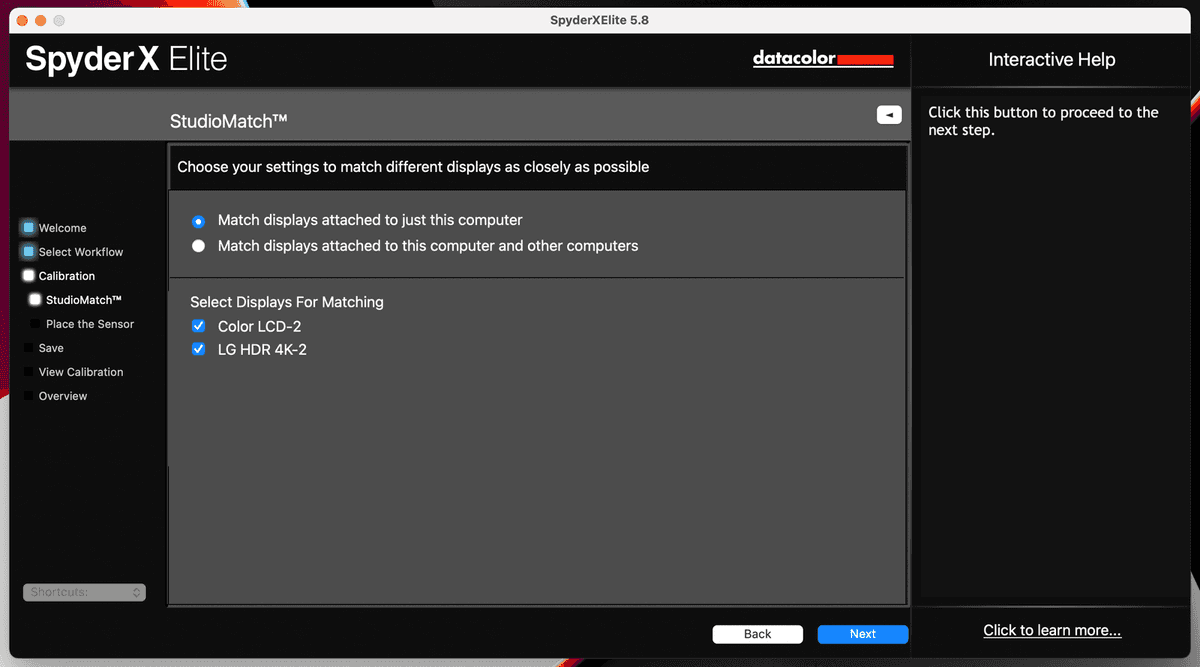
This is another alternative workflow, which lets you calibrate multiple monitors to the same calibration. This is useful for calibrating different brand or model monitors as they often differ in color variation. I personally have not used this workflow but will be keen on trying it once the opportunity presents itself.
Final Thoughts
The Spyder Elite was a great tool to help calibrate my monitor to a consistent color profile so I can be confident in working with colors during my post-processing workflow.
The calibration process was pretty seamless, so I don’t see any problems with re-calibrations on a monthly interval.
Resources
Updates:
- March 1, 2022 - Published
Subscribe to Derek Liang
Get the latest posts delivered right to your inbox